|
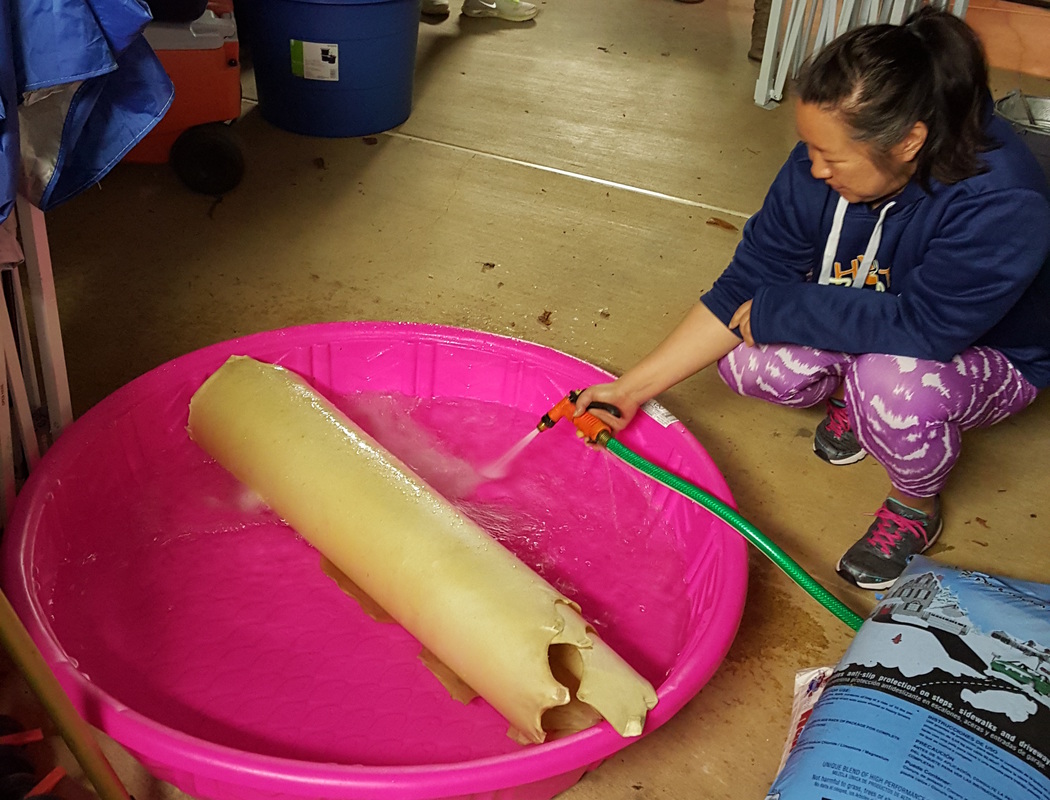
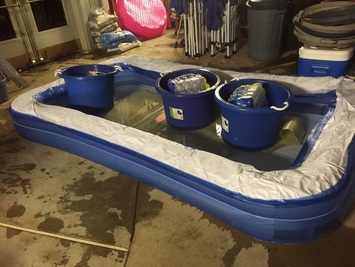
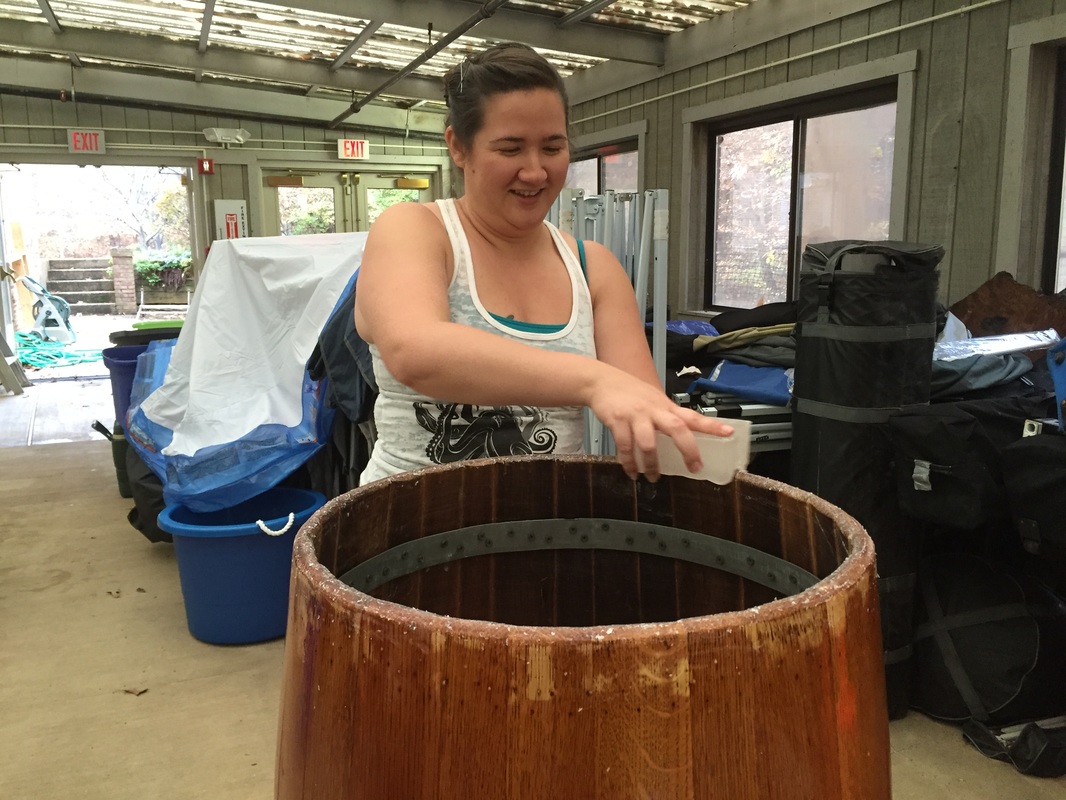
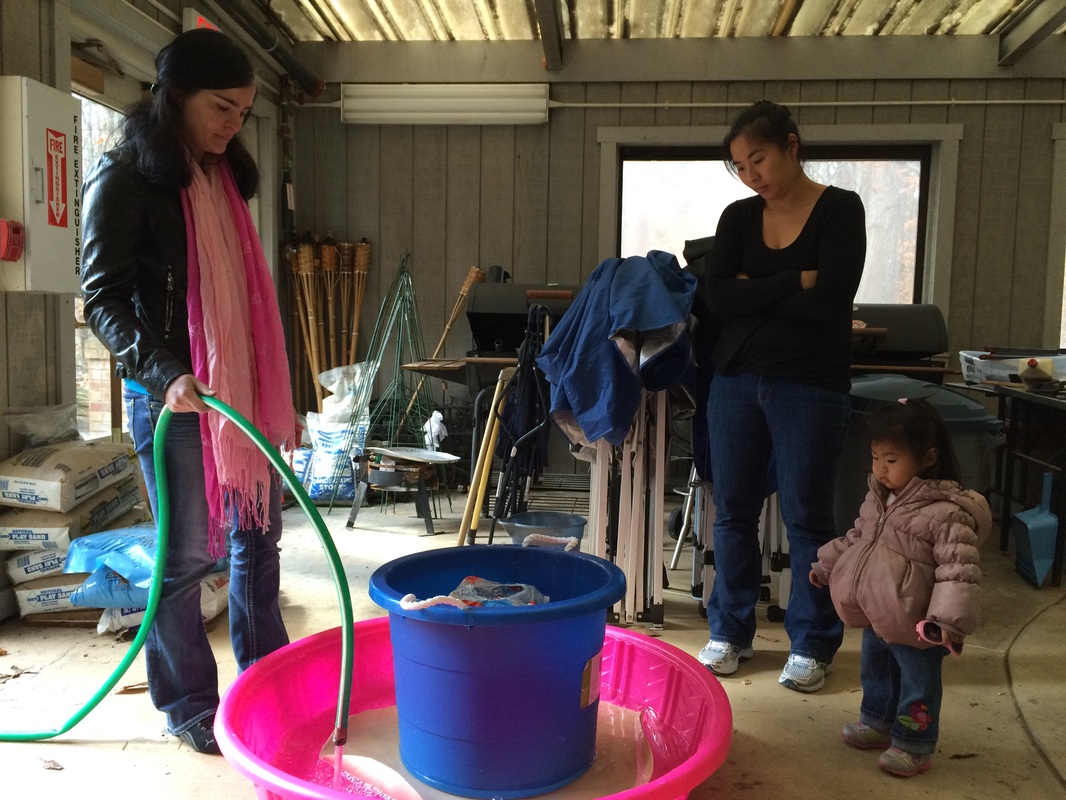
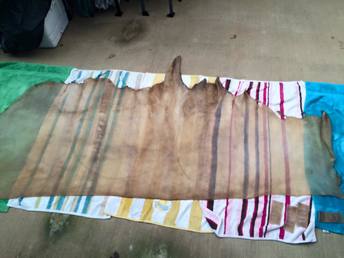
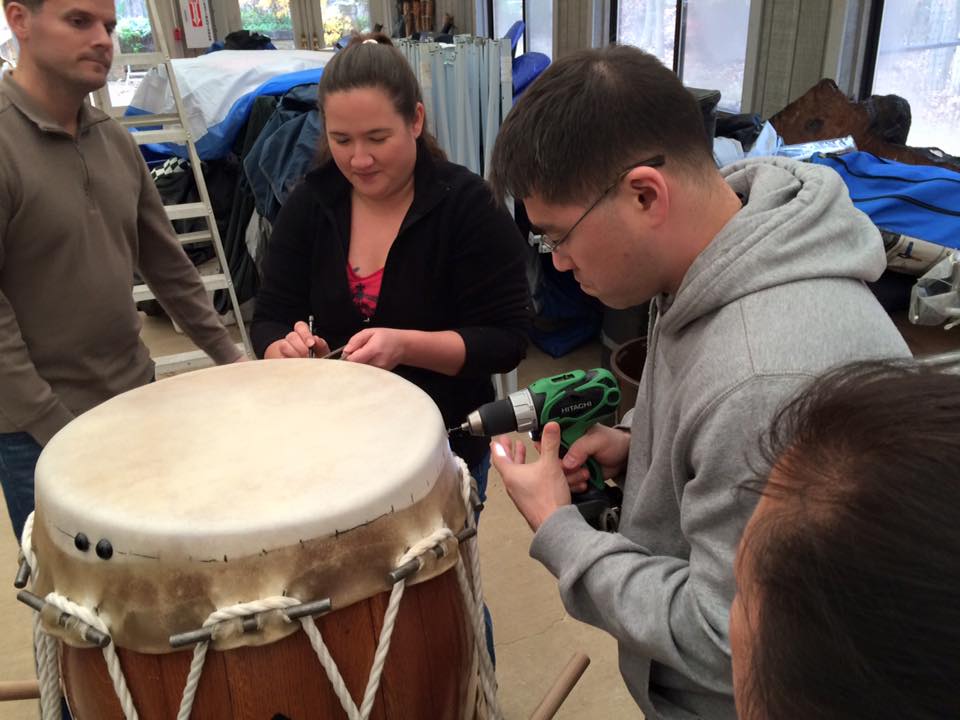
This fall, Nen Daiko undertook a drum maintenance project. This involved one of our chu-daiko, or medium-sized drum, and one of our o-daiko, or large drum. This blog is about our chu. This project took place over six weeks - many thanks to our hard-working Nen Daiko members and apprentices. To start, we soaked the cow hides to soften them. We tried to soak them in a baby swimming pool, but quickly realized we needed a bigger pool. Luckily, Dee had a long rectangular one. We weighed down the hide with buckets filled with water bottles.
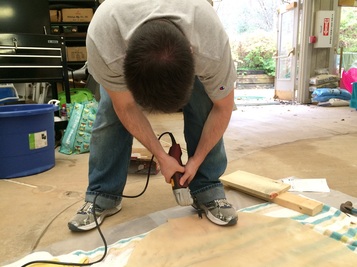
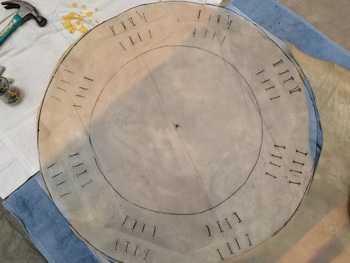
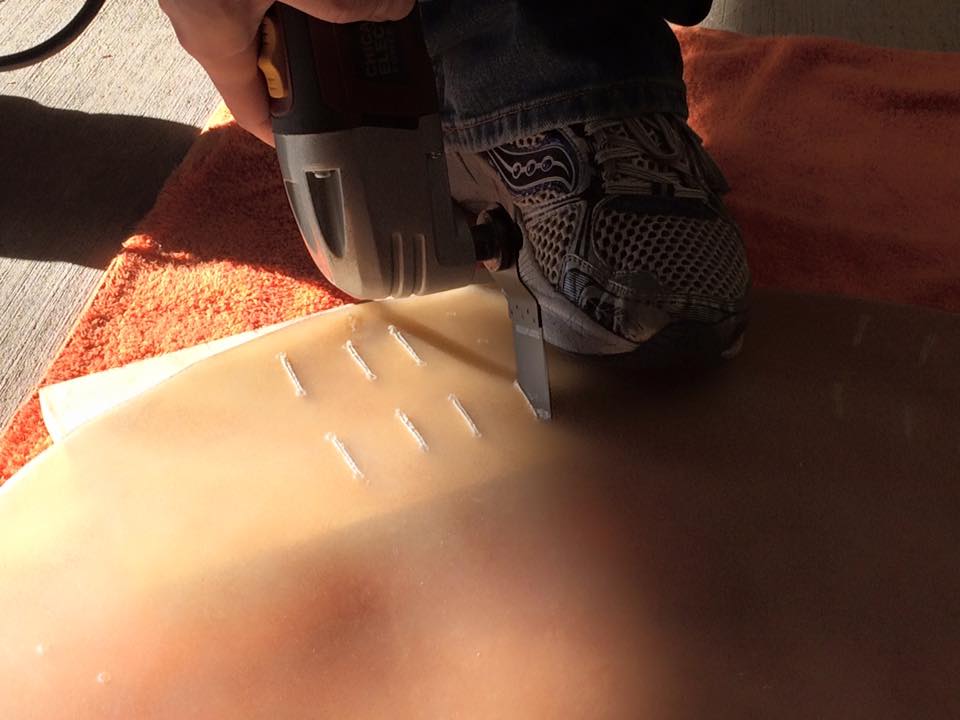
Once the hide was soft, we cut out two heads from it using the plastic templates we had prepared. The most challenging part of this step was to find something that would write on the damp hide. We tried chalk, a crayon, and a pencil, until Lisa pulled out an eyeliner from her purse. That did the trick. We used leather scissors and a Dremel tool to cut through the hide and to cut slots around the edges.
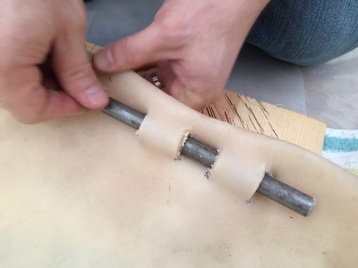
Based on our previous reheading experiences, we cut four slots so we could fold over the edge of the hide to double the layer where we wove the metal rods through. This is what forms the “mimi” or the “ears” of the drum hide, and allows us to stretch the hide. You will see why a strong mimi is very important in a minute!
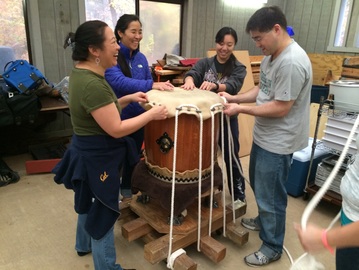
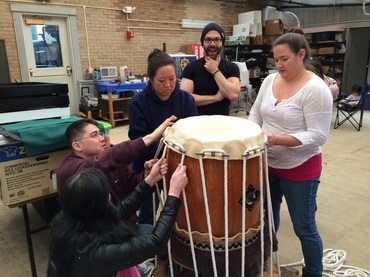
We tied our rope to the base of the stretching stand. We looped it over the mimi and then down under the stand. We did this loosely at first until we were sure the hide was centered on the drum and the handles on the body, or “kan,” did not interfere with the ropes.
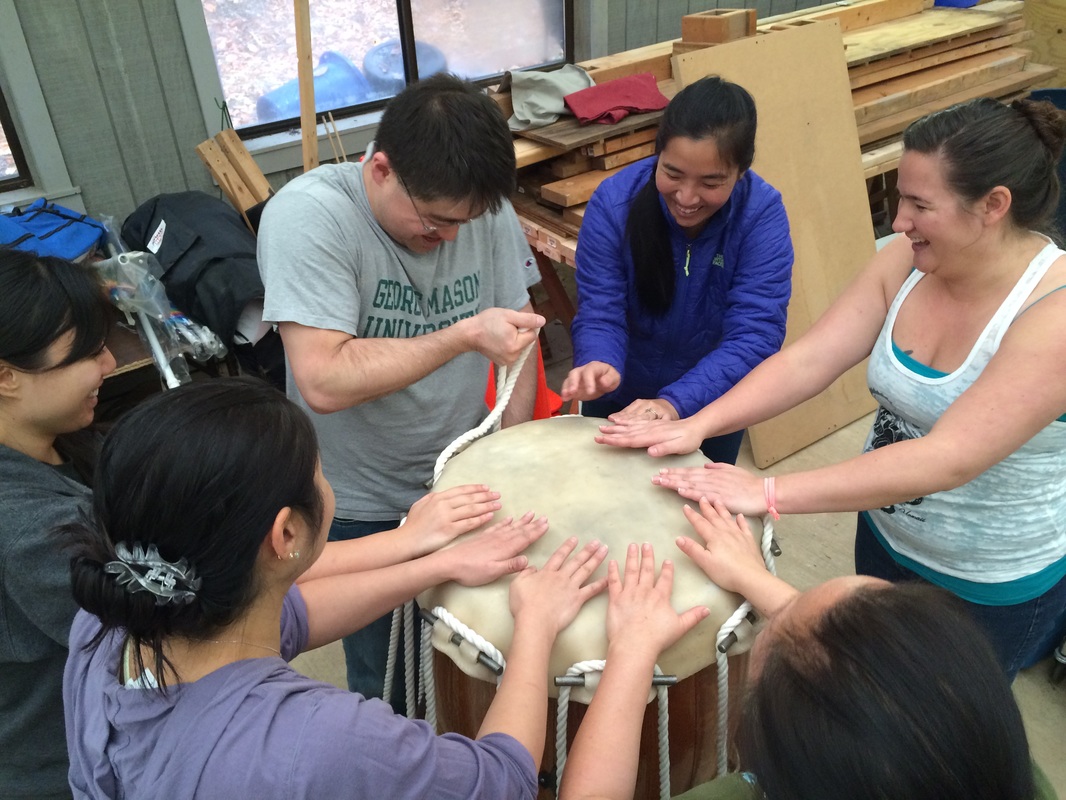
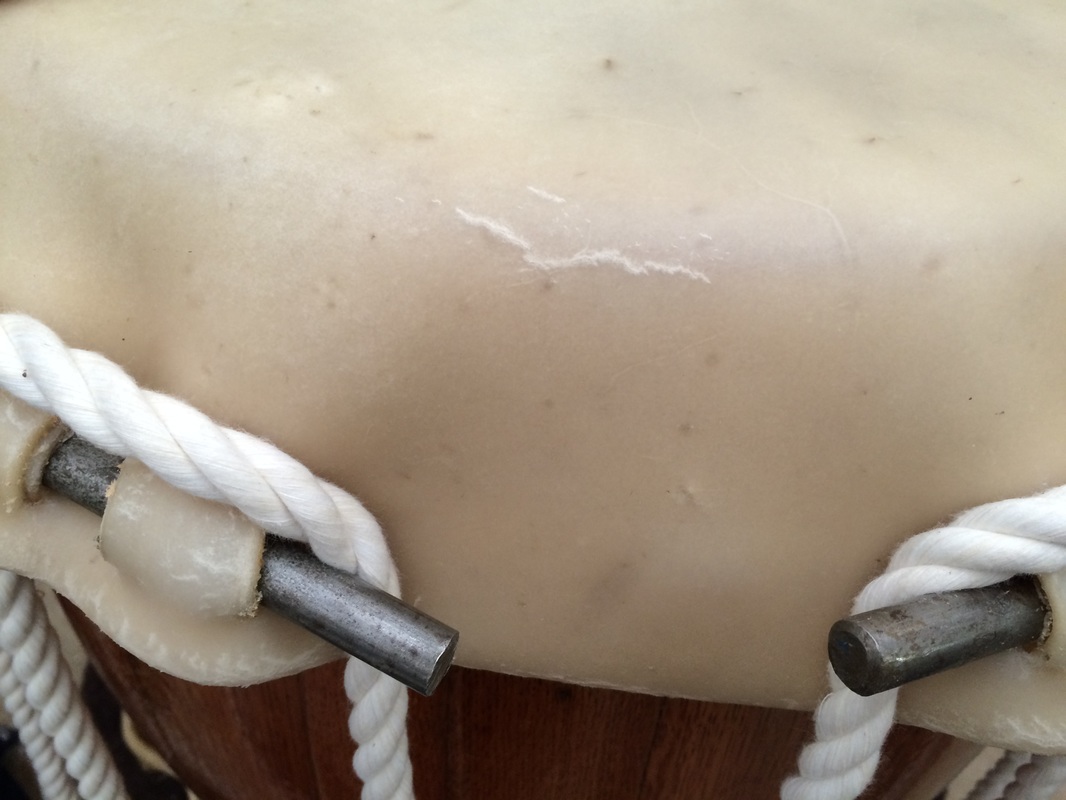
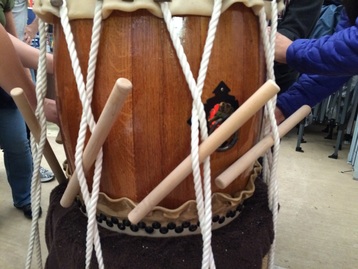 We tightened the rope by hand, then used wooden dowels that had been sanded very smooth to tighten the ropes further. You put the dowels over one rope and under then other, then give it a twist. You can see the ropes put a lot of force on the mimi as we start to stretch the hide. 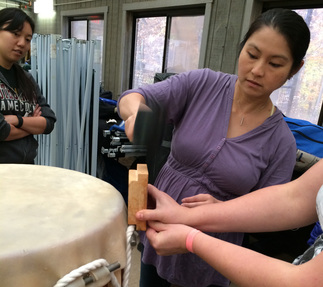 Knocking on the mimi to even out the stretch Knocking on the mimi to even out the stretch We twisted the dowels a few more times to make it tighter. We used a rounded block of wood to knock sections of the hide down in spots where it seemed uneven. But with each tightening, more white marks appeared. This hide showed stress marks far too easily. Its texture was waxy and its thickness uneven. We held out hope it would be okay. 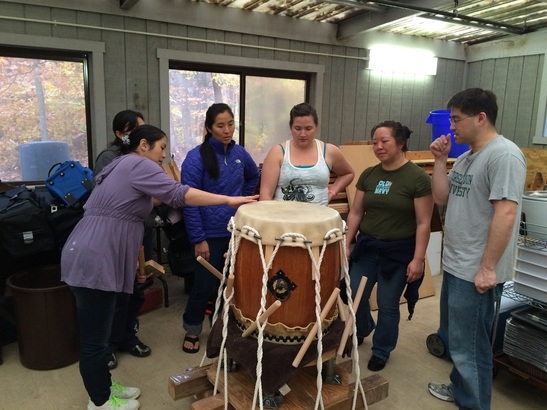 Once the hide had dried in this shape for a few days, we took it off the drum and let it harden further before the next step. We tried to get the mimi and the outer rim where we were seeing stress marks really dry, while keeping the center more pliable. After the mimi had dried, it was time to stretch it. But bad news. As we worked with the head, it tore along the mimi. The head was not going to work. Stretching Hide #2We had cut two drum heads from our hide, so we soaked the second one. Our smallest taiko re-heading team member wanted to climb into the pool with the soaking drum head, but restrained herself. You can see, everyone is a bit sad at this point.
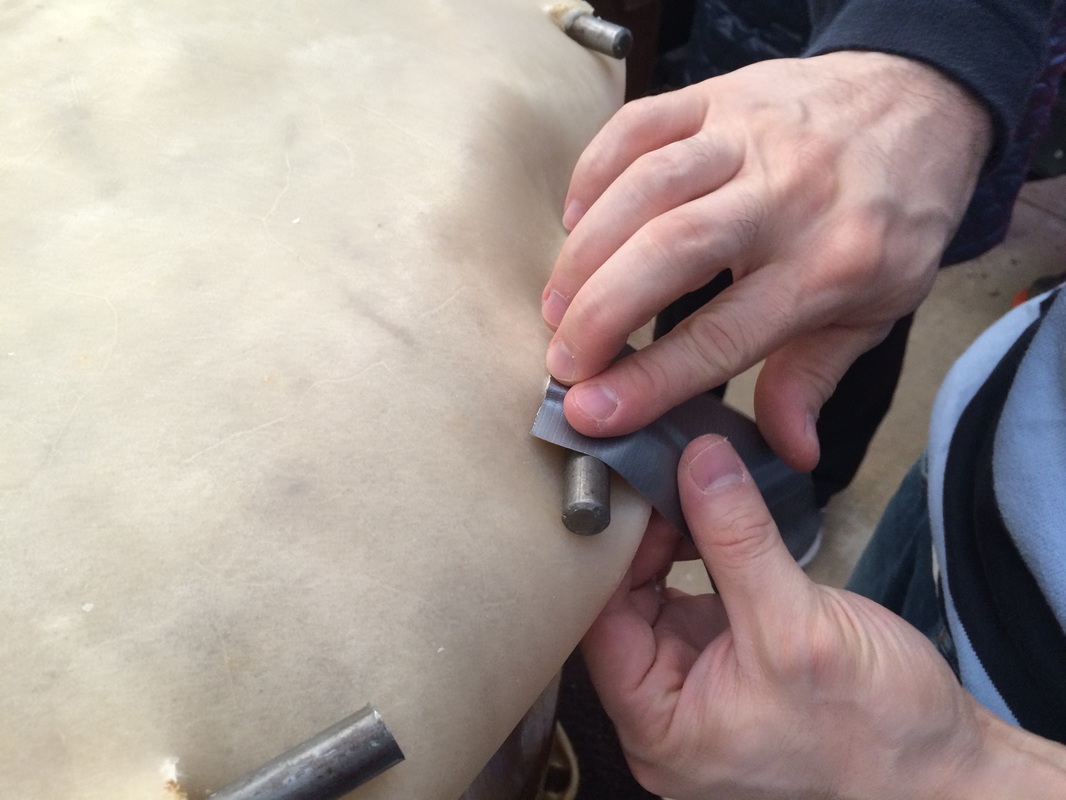
After soaking for a few days, we did the same process with the second head. Unfortunately, it did not fare any better. At one point we even resorted to duct tape on a weak part, but in the end, mimi ripped again.
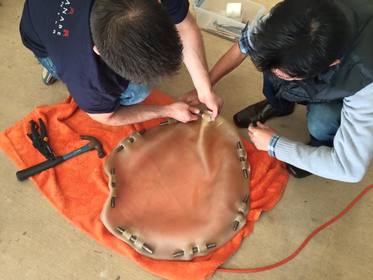
After a series of stretching activities which included stretching the hide further using car jacks, we started to see scary ripping again, so we had to quickly move to the tacking step to secure the hide to the body. This entailed marking the location of the tacks, or byo, pre-drilling holes, and hammering the byo in --all under pressure! At a particularly stressful moment, a piece of drill bit cracked off and got stuck in the wood, but we continued with the process.
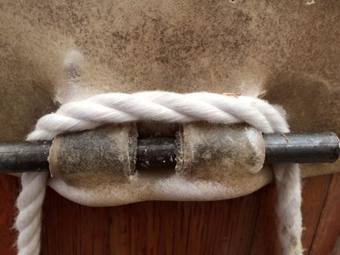
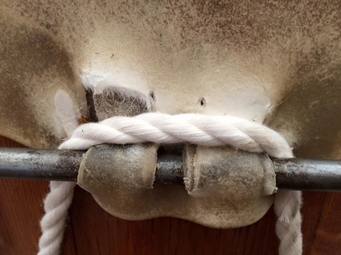
A lot of the stress was due to the fact that despite our best efforts, some mimi were not tolerating the force needed to stretch the hide and were starting to tear. Here’s a comparison of a healthy and unhealthy mimi:
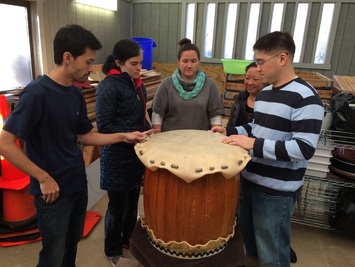
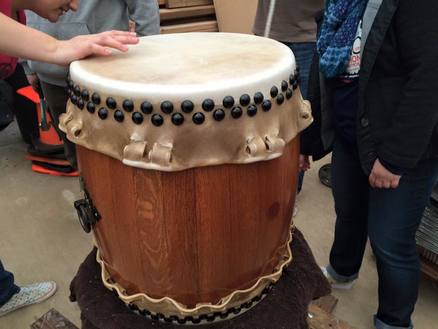 You can imagine everyone’s relief when we finished with a beautiful and wonderful-sounding drum! We love you chu, despite all the stress you gave us! We look forward to hearing your sounds at our upcoming performances!
This was a big project for Nen Daiko. Extra thanks to Brenda for all her hard work ordering the cow hides, and to the more experienced members of Nen Daiko for teaching all of us the skills to maintain our equipment. Thank you to Mark H. Rooney for sharing his tips about drum reheading in the past and for taking the time to brainstorm possible solutions with us when things were not working well during the first two hides. Thank you also to Stanley Kaneshiki from Hoh Daiko, who has always been so helpful and patient over many years as different Nen Daiko members have tried to learn his drum-making techniques. We are pleased we now have two drums with beautiful new heads and the many other maintenance projects are done. For more details about our other drum maintenance projects, check out this blog about putting a new head on our o-daiko or big drum (which was a much less stressful project).
1 Comment
Carl Brown (Dad)
12/19/2015 01:19:51 pm
Amazing - nice story. Terrific amount of effort to make the drum head. Not sure how you avoided it tearing in the end but it worked. I guess you started attaching it before it go to the tearing stage. Your comment will be posted after it is approved.
Leave a Reply. |
Archives
May 2024
Categories
All
|
 RSS Feed